

How to Make a Gallery Wall
Hanging art is an art in and of itself. What you chose to put on your walls is a form of expressing who you are and what is important to you. Some people crave blank walls to bring in simplicity while others might go a little crazy with too much wall space exposed. Either way, gallery walls can be for just about anyone, as they can be super simple or incredibly detailed.
So, what type of person are you? Are you the less is more type of person or the ‘bring all the things’ person? Regardless, these tips and trips will help anyone install the perfect gallery wall!
1. Decide if you want a uniform look or a collected look.
For a uniform look:
– The frames are all the same style
– The frames are either all the same size, creating a series; or they are different sizes and collectively create a shape
– The subject matter relates to each other (all black & white photos, all abstract watercolors, etc.)
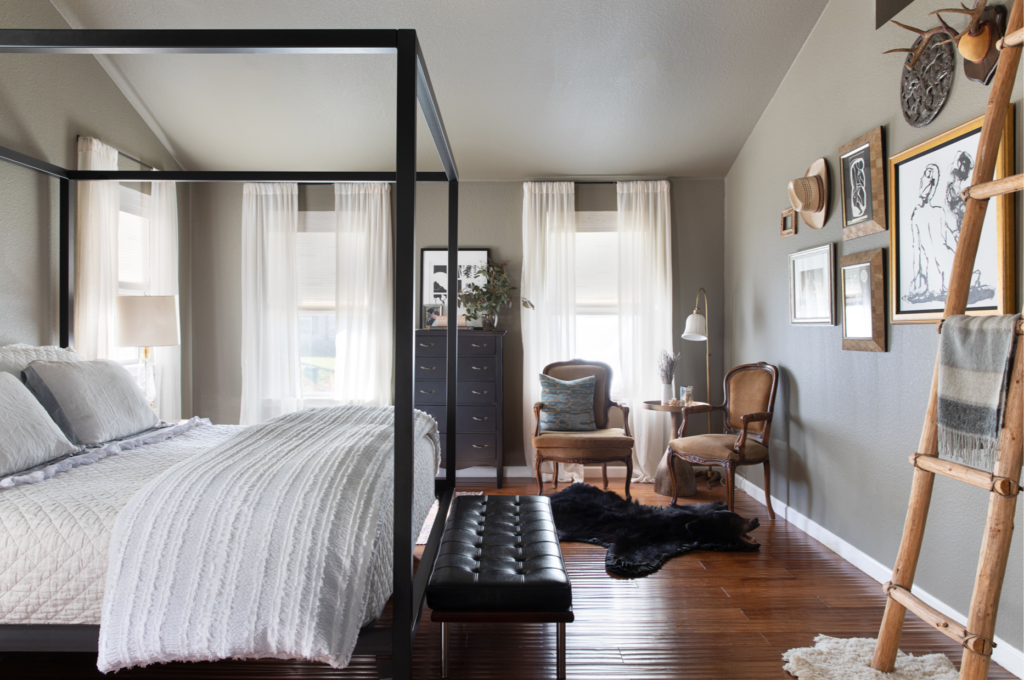
For a collected look:
– Incorporate different styles of frames (traditional, modern, rustic, etc.)
– Incorporate different sizes of frames (wide, thin, deep, etc.)
– Incorporate different types of frames (wood, metal, acrylic, etc.)
– Incorporate different art mediums (photography, drawing, watercolor, etc.)
– Incorporate a pair of something
– Incorporate dimensional items (tapestry or textile, ornate mirror, corbel or shelf, or any 3D object such as a tribal mask, sculpture, or small plant)
2. Decide what overall shape your gallery will be and block out an outline on the wall with painters tape. This might be a rectangular or symmetrical shape, or it might be an asymmetrical shape or a triangle if it’s going on a stair wall.
3. Block out the same overall outline on your floor with the painters tape and start placing items within the outline, leaving approximately the same amount of space between pieces. Keeping roughly the same space around items is key for making your gallery feel cohesive and intentional.
4. Use painters tape or a pencil to mark where each item will hang on the wall, based on your layout on the floor. Measure their locations within your floor outline and then match them to the wall outline.
5. Begin hanging your pieces one at a time, starting in the middle and working your way out. This will make it easier to make spacing adjustments if needed.
A great online store that we love is Frame Bridge! You upload your art (or certificates, photos, anything!) and they custom frame for you! Click here to order a gallery wall from Frame Bridge, where they even include a life-size hanging guide.
The Journal
Library
OUR INTERIOR DESIGN WORK
INTERIOR DESIGN ADVICE
WORK WITH US
FREE INTERIOR DESIGN GUIDE
Site by WHITNEY RUNYON
Email US: Hello@housemilldesign.com


